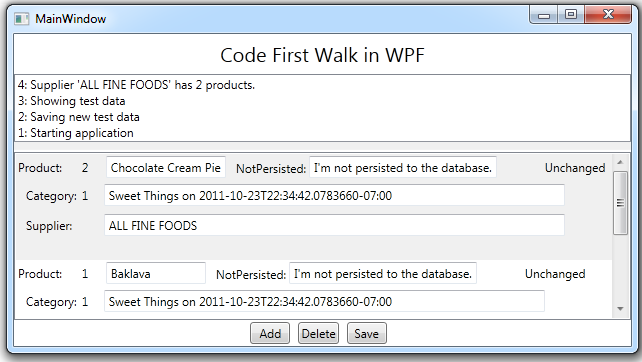
The Code First Walkthrough sample shows you how to build a DevForce Code First WPF application from scratch.

- Platform: WPF
- Language: C#
- Download: Code First Walkthrough
The application itself is not the focus; we are not striving to make a useful application nor demonstrating best practices in UI design or development. Our purpose is to lead you through a sequence of steps that introduces the essentials of writing and consuming an entity model in DevForce Code First style.
The exercise proceeds in six stages, each of which can be completed in less than twenty minutes, each of which leaves you with a working application.
From New Project to Running
Build a console application in WPF clothing. Define a single-entity (Category) model, add instances of it to a development database, query them back, format them as strings, and display them on screen as logged messages.
Update the Model and Bind to it
Models evolve. See that it’s easy to add a new entity type (Product). Replace the "Console.Writeline" approach with a WPF form that bind to the entities. See that DevForce AOP entities have data binding support wired in automatically and invisibly.
Explicit Entity Mapping
When the Entity Framework naming conventions don’t convey the database schema you need, use Entity Framework mapping configuration. We add another new type (Supplier) and map declaratively with attributes. Then we create our first EF DbContext class and map imperatively with the Fluent API.
Validation and Property Interception
DevForce AOP entities are wired to support object and property validation as we show by constraining the Supplier.CompanyName with string length validation and force it to display the name in uppercase with a property interceptor. Add, Delete, and Save buttons demonstrate basic operations and help explore the implications of the entity features we’ve built.
Create a separate Model Project
Most developers quickly relocate the model classes to a Model project that is separate from the application project as we do in this five minute stage.
Testing the Model
In this segment, we introduce automated testing a DevForce Code model. The lessons apply to all DevForce entity models, whether built Code First or Database First with an EDM.
Prerequisites
- DevForce 6.1.4

